So what would I like to do for the rest of this semester? Or maybe more specifically, what would I like to work towards this semester? Ultimately I would like to create a professional looking scene (as a director and maybe DOP as well) from a script or possibly just a prose that has already been written. I would personally like to use some of the classes to plan out my scene (i.e. storyboard, make floor plans, shot lists and decide who will act in and crew my scene). I have also really enjoyed doing the shooting exercises in class and I think that doing things hands on is the best way to learn so I would like to continue doing a few of these to further my skills in ‘DOPing’, sound recording and directing. I also think it is generally the best way for us to experiment with camera coverage and to develop our own styles as filmmakers.
Author: miazen
My Method of Working Part 7
|
|
|||
I am beginning to think about how I am actually going to create my scene, in terms of the logistics of shooting anyway.I have started by talking to two friends who are both studying creative writing, one who is a third year at RMIT who is focussing on short story screen plays; and one who is a third year at Melbourne University who mainly writes for theatre but majors in cinema studies and is currently writing a television pilot for her screen writing class. Both are more than willing to let me use their scripts for my final assignment. The RMIT student has already emailed me one of her scripts for a short film, so I am just in the process of reading through it to see if there are any scenes I would like to cover.
In terms of casting, I’ve got a few acting friends who are willing to help me out for free (I’m sure they wouldn’t mind having some footage for their show reels as well though). Other than that, I think I will need to use actors who are willing to participate from Starnow.
I think the location will depend on what scene I end up going with. At the moment I have no idea what I even need to start looking for, so I think I will just worry more about that later.
My Method of Working Part 6
One of the biggest influences in my life is dance. I originally come from a ‘creative’ dance background (known to most people as interpretative/contemporary/improvisational dance), which I was involved in from about the age of 2 until I was 14. I guess the best way to think about this dance is that there is no defined choreography, you can essentially do whatever you want, (but often within some constraints). For instance, our concerts every year were based around some kind of narrative story and we were to ‘dance’ our way through a ‘scene’… our classes interpretation of the scene anyway. Each class would use their bodies to explain their part of the story. Although this sounds like it would be completely incomprehensible to an audience, somehow it worked. This time of my life not only taught me rhythm and how to move my body, it gave me the confidence and freedom to just dance, to just move how I wanted, to improvise. It was only when I started going to more conventional dance lessons (jazz, aerobics and hip hop) that I realised how invaluable these lessons had been to me. Dancing styles have ‘rules’, or at least ‘conventions’: stereotypical movements of that genre (much like cinema). Dancers who have grown up going to those lessons don’t really know anything different and (generally) struggle to just let go and ‘vibe’ the music when dancing. I definitely do not proclaim to being an amazing dancer, I was never going to make a career out of it. But I did realise I was quite good at choreography. Much to my coach’s frustration, I would often take over lessons where we were trying to make up new routines. It got to a point where if we (my team, my coach and I) were struggling to think of something new for our competitive routines, they would just leave me in a room with the music on repeat for a while until I came up with something through improvisation.
Which leads me to how this all relates to film. In many ways I think that the creation of dance choreography is a great analogy for filmmaking. Firstly, both art forms are primarily about how entities move through space and time. A director can be likened to a choreographer as both of these roles are essentially dictating how things will be positioned in space and time for aesthetic, emotional and story-telling effect. So what if I took a page from my own life: what if I began a filmmaking process through improvisation to generate ideas? And then after this process I really start to refine things, so that I end up with a unified, complex and detailed piece of work.
My Method of Working Part 5
I was chatting to a screenwriting student at work today, who told me about the filmmaking process of Drinking Buddies (Joe Swanberg, 2013, USA). Swanberg is most famous for his ‘mumblecore’ films, a genre I have only briefly heard about during cinema studies last year. These films are often based on improvisational acting and thus favour naturalistic dialogue over scripted conversations between characters. Like Nicholas Winding Refn, Swanberg also shoots his films chronologically, allowing for stories to naturally unfold.
Apparently Swanberg comes onto set with a general idea of how a scene will begin and what needs to happen or change by the end of the scene; but how this eventuates is ultimately up to the actors. I like this idea of naturalistic acting, because it makes the story seem much more ‘real’; however, I think this would be difficult to capture with a camera. This methodology doesn’t really leave room for multiple takes of shots and the camera work would need to be totally conceived on the day in reaction to the character action. I imagine that creating a continuous edit would also be a struggle. Nevertheless, I think if you had a very talented cinematographer and a close knit team of crew and actors this process would foster ingenuity and imagination. This production process reminds me of Boyhood (Richard Linklater, 2014, USA), which was filmed over a 12 year stint. Linklater never planned out exactly how the ‘story’ was going to develop or finish and so the final product is a very true to life representation of growing up, but does not necessarily have any narrative arcs (it definitely does not follow a traditional story structure).
These shooting methodologies are actually rather similar to the exercises we did in the first few weeks of this course. Instead of scripts, we received a ‘blue print’ of a scene, which enabled more naturalistic dialogue to emerge. I’m not sure if I could create a whole improvised film like Swanberg, but I do like the idea of some spontaneity…maybe just slightly structured spontaneity.
My Method of Working Part 4
This week I watched a short documentary-like video about Nicholas Winding Refn, most famous for directing the film Drive (2011, USA). He is a Danish filmmaker, who never actually attended a film school and started directing at quite an early age (26). Interestingly, even though he attests to writing or co-writing a lot of his films, he is actually dyslexic. This may influence his ‘organic’, unconventional filmmaking style.
He is said to go on set without any concrete storyboards and instead finds his shots and plans his compositions on location with his actors. He does however use index cards to roughly plan out what he will shoot every day (opting for drawings rather than words, which he claims makes it easier to explain ideas to his others). I’m not sure if I could shoot an entire film without any storyboards or floor plans, but I think it’s a really good place to start collating ideas for a scene. Although he does not identify as just a director, at heart is an ‘actor’s director’. He is renowned for having loving relationships with his actors, working with them closely in terms of blocking scenes and character ‘building’. He believes that the actors need to have a say in the creation of their character; something that I strongly believe in as well. If an actor is able to assemble their own character type, they will undoubtedly feel a stronger connection with the entity the have to ‘become’, which adds to the complexity and believability of the character. Winding Refn attempts to move away from the ‘authoritarian’ role of the film director, leaving the story open to other’s ideas. Apparently his scripts are very loose, which also enables improvisation and last minute changes to the narrative.
Winding Refn also shoots his scenes and films in chronological order. After he heard that American indie pioneer John Cassavetes shot some of his films chronologically, Refn decided to take a similar approach. In an interview with Scott Foundas he says that ‘It’s like a painting—you paint the movie as you go along, and I like the uncertainty of not knowing exactly how it’s going to turn out’. I think Winding Refn’s organic style demands this order of shooting. I know that if I go into a shoot without much of a plan (i.e. no storyboards or definite script), I automatically opt for a chronological shooting order because it aids in the continuity of the scene and also helps to pave the way and set the tone for the rest of the sequence. I know that shooting in order is not always logistically possible, but I think it’s a great thing to do if it’s practical. In my opinion, Winding Refn’s films are tightly unified by their style and continuity and the characters seem to develop and grow with the narratives, which could be partly due to the organic and chronological way they have been produced. 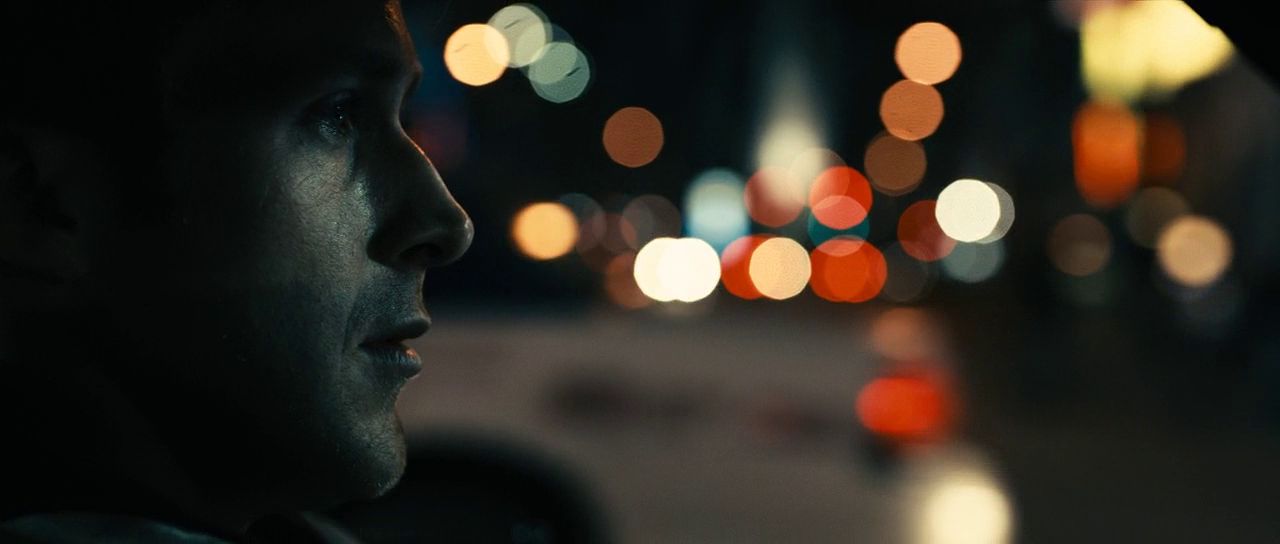
My Method of Working Part 3
In class we have been speaking a lot about taking pictures on our phones on location in preparation for shooting. I think this process is great because the portability of our phones enables a very free and experimental planning process. However, phone cameras are very different from the video cameras we have been using, so there is always going to be a slight problem in that you cannot exactly replicate the shots that have been taken on phones. Furthermore, the tripods and video cameras are physically much bigger and so they cannot fit into the same spaces that phone cameras can (thus shot types would invariably need to be adjusted in certain locations).
For week 4’s exercise we began by taking several photos on one crew member’s phone of the entire location i.e. not setting up shots properly. This was so we had a record of exactly how the location looked and worked if we needed to refresh our memories later on. We then started to block our ideas for how the scene would play out, using the phone camera to document the different shots. Even though a phone camera and a video camera have different lenses, they still show you what is ultimately unachievable. For example, we were trying to get a shot of one character’s reflection coming out of a door on an opposing glass wall and the other character hiding behind a corner. By being able to track the action through a camera, we realised that the angles were too difficult to capture and that even a fish eye lens would not be able to frame all of the action in one shot. If we had not known this, we would have wasted a lot of time in the real shoot.
One of our crew members also made a rough video of our scene on her phone camera. This was incredibly beneficial because it documented the character movements as well as the shot types. From these phone photos and videos we were then able to storyboard our scene and write up shot lists quite efficiently.
My Method of Working Part 2
I want many things from this course…
- I want to understand cinema better.
- I want to build my confidence in being a director/cinematographer/sound guy/editor so I ‘don’t look like a tool’ on set or in the editing suites. I essentially just want to improve my technical skills.
- I want to know how to make scenes that can be taken into post production and easily edited to look continuous, but…
- I guess why I’m doing this degree, and more specifically this course, is to learn how to make a film to a ‘professional’ standard. How does this occur? At this point I think it is a combination of EVERYTHING – directing, casting, scripting, storyboarding, lighting, camera work, location, editing, colour grading, sound, organisation, time and money.
So how I am going to help myself to get to a point where my work looks ‘professional’? What is professional? (I guess in the simplest of terms it is simply ‘good quality’ work).
I think a good way to start is to look at films that I really love, not for their story, but for their professional cinematography. Then, if I can find it, watch their ‘making of’ videos that are often in the special features on DVDs. This could help to explain exactly how scenes are created and shed light on the way various actors/crewmen/actors work. Subsequently, I might be able to further pull apart these scenes by analysing their camera coverage, like we have been doing in the past few weeks of The Scene. I would also like to research the different methodologies of directors and see if they themselves have written any accounts of their filmmaking processes.
My Method of Working Part 1
Today I had a very short time frame to edit my week 4 exercise and so I had to come up with the most efficient way to finish my scene. I started by going through all of the footage and roughly cutting the shots I thought were usable. I ordered them chronologically on the timeline and colour coded the separate shots so I knew which ones were the ‘best’ out of the different takes.
Generally I would try to work off my storyboard as closely as possible. However, with this scene I knew I wasn’t going to be able to follow our original shot list to a tee because of continuity errors we had made during shooting. Thus I essentially had to just join the shots that I thought fitted best together and that didn’t show any signs of technical errors. To aid me in this process I decided to quickly go through all of my cut footage and write down which shots ‘I had to use’ (because there were no other options for the same shot/piece of dialogue) and shots I was considering using and why they might be used. I think it was beneficial to hand write these notes because it allowed me to draw rough diagrams and add linking lines between ideas. Once I physically wrote everything down it was clear that there were really only two shots out of the final four that I wanted to play around with. So I joined the two definite shots I wanted together and then looked at which takes of the other two shots worked best continuity-wise. I found that ‘cutting on action’ was a smooth way to join shots, as well as continuing the audio over from one shot to another.
After roughly assembling the scene, I started to go through the cuts meticulously, making sure they all looked seamless. Then once I was happy with the visuals, I went through the audio, constantly layering sounds from different shots so that there were no sharp or noticeable changes to the background noises throughout the scene. Lastly I added transitions and an adjustment layer which allowed me to colour grade my piece. I find it is best to do these things last, because if you end up changing anything in the visuals it can stuff up the audio or might cause you to have to re-do transitions, which ultimately just wastes time.
Week 4 Found Scene Deconstruction
Requiem for A Dream (Darren Aronofsky, 2000, USA)
Scene 1
The opening scene to Darren Aronofsky’s Requiem for a Dream establishes characters, thematic ideas and stylistic approaches that are continued throughout the film. Aside from the very first and last shots of this scene, the entire sequence utilises a split screen composition. This layout is repeated several times throughout the film, enabling two equal perspectives to be portrayed on screen at the same time. This can be seen as a motif for the film, which is essentially about four different people’s perspectives on addiction and obsession. Both of these concepts are also commonly investigated in other Aronofsky films, such as Pi (1998) and Black Swan (2010).
The opening shot of Requiem for a Dream is a shaky, fast-moving, hand held camera shot, which initiates the restlessness of the scene. The camera tracks backwards as Sara (the mother) runs away from Harold (her son) and begins to lock herself in her cupboard. Meanwhile, the camera pans past the doorway, turning the right side of the screen dark. This movement has enabled the editor to transition seamlessly into the split screen format. The audience can now witness what is going on inside the cupboard with Sara and what is happening in the lounge room with Harold, both being framed in mid closeups. This intimate framing creates an intensely emotional atmosphere, as viewers can see both characters’ expressions up close, emphasising Sara’s fear and Harold’s anger.
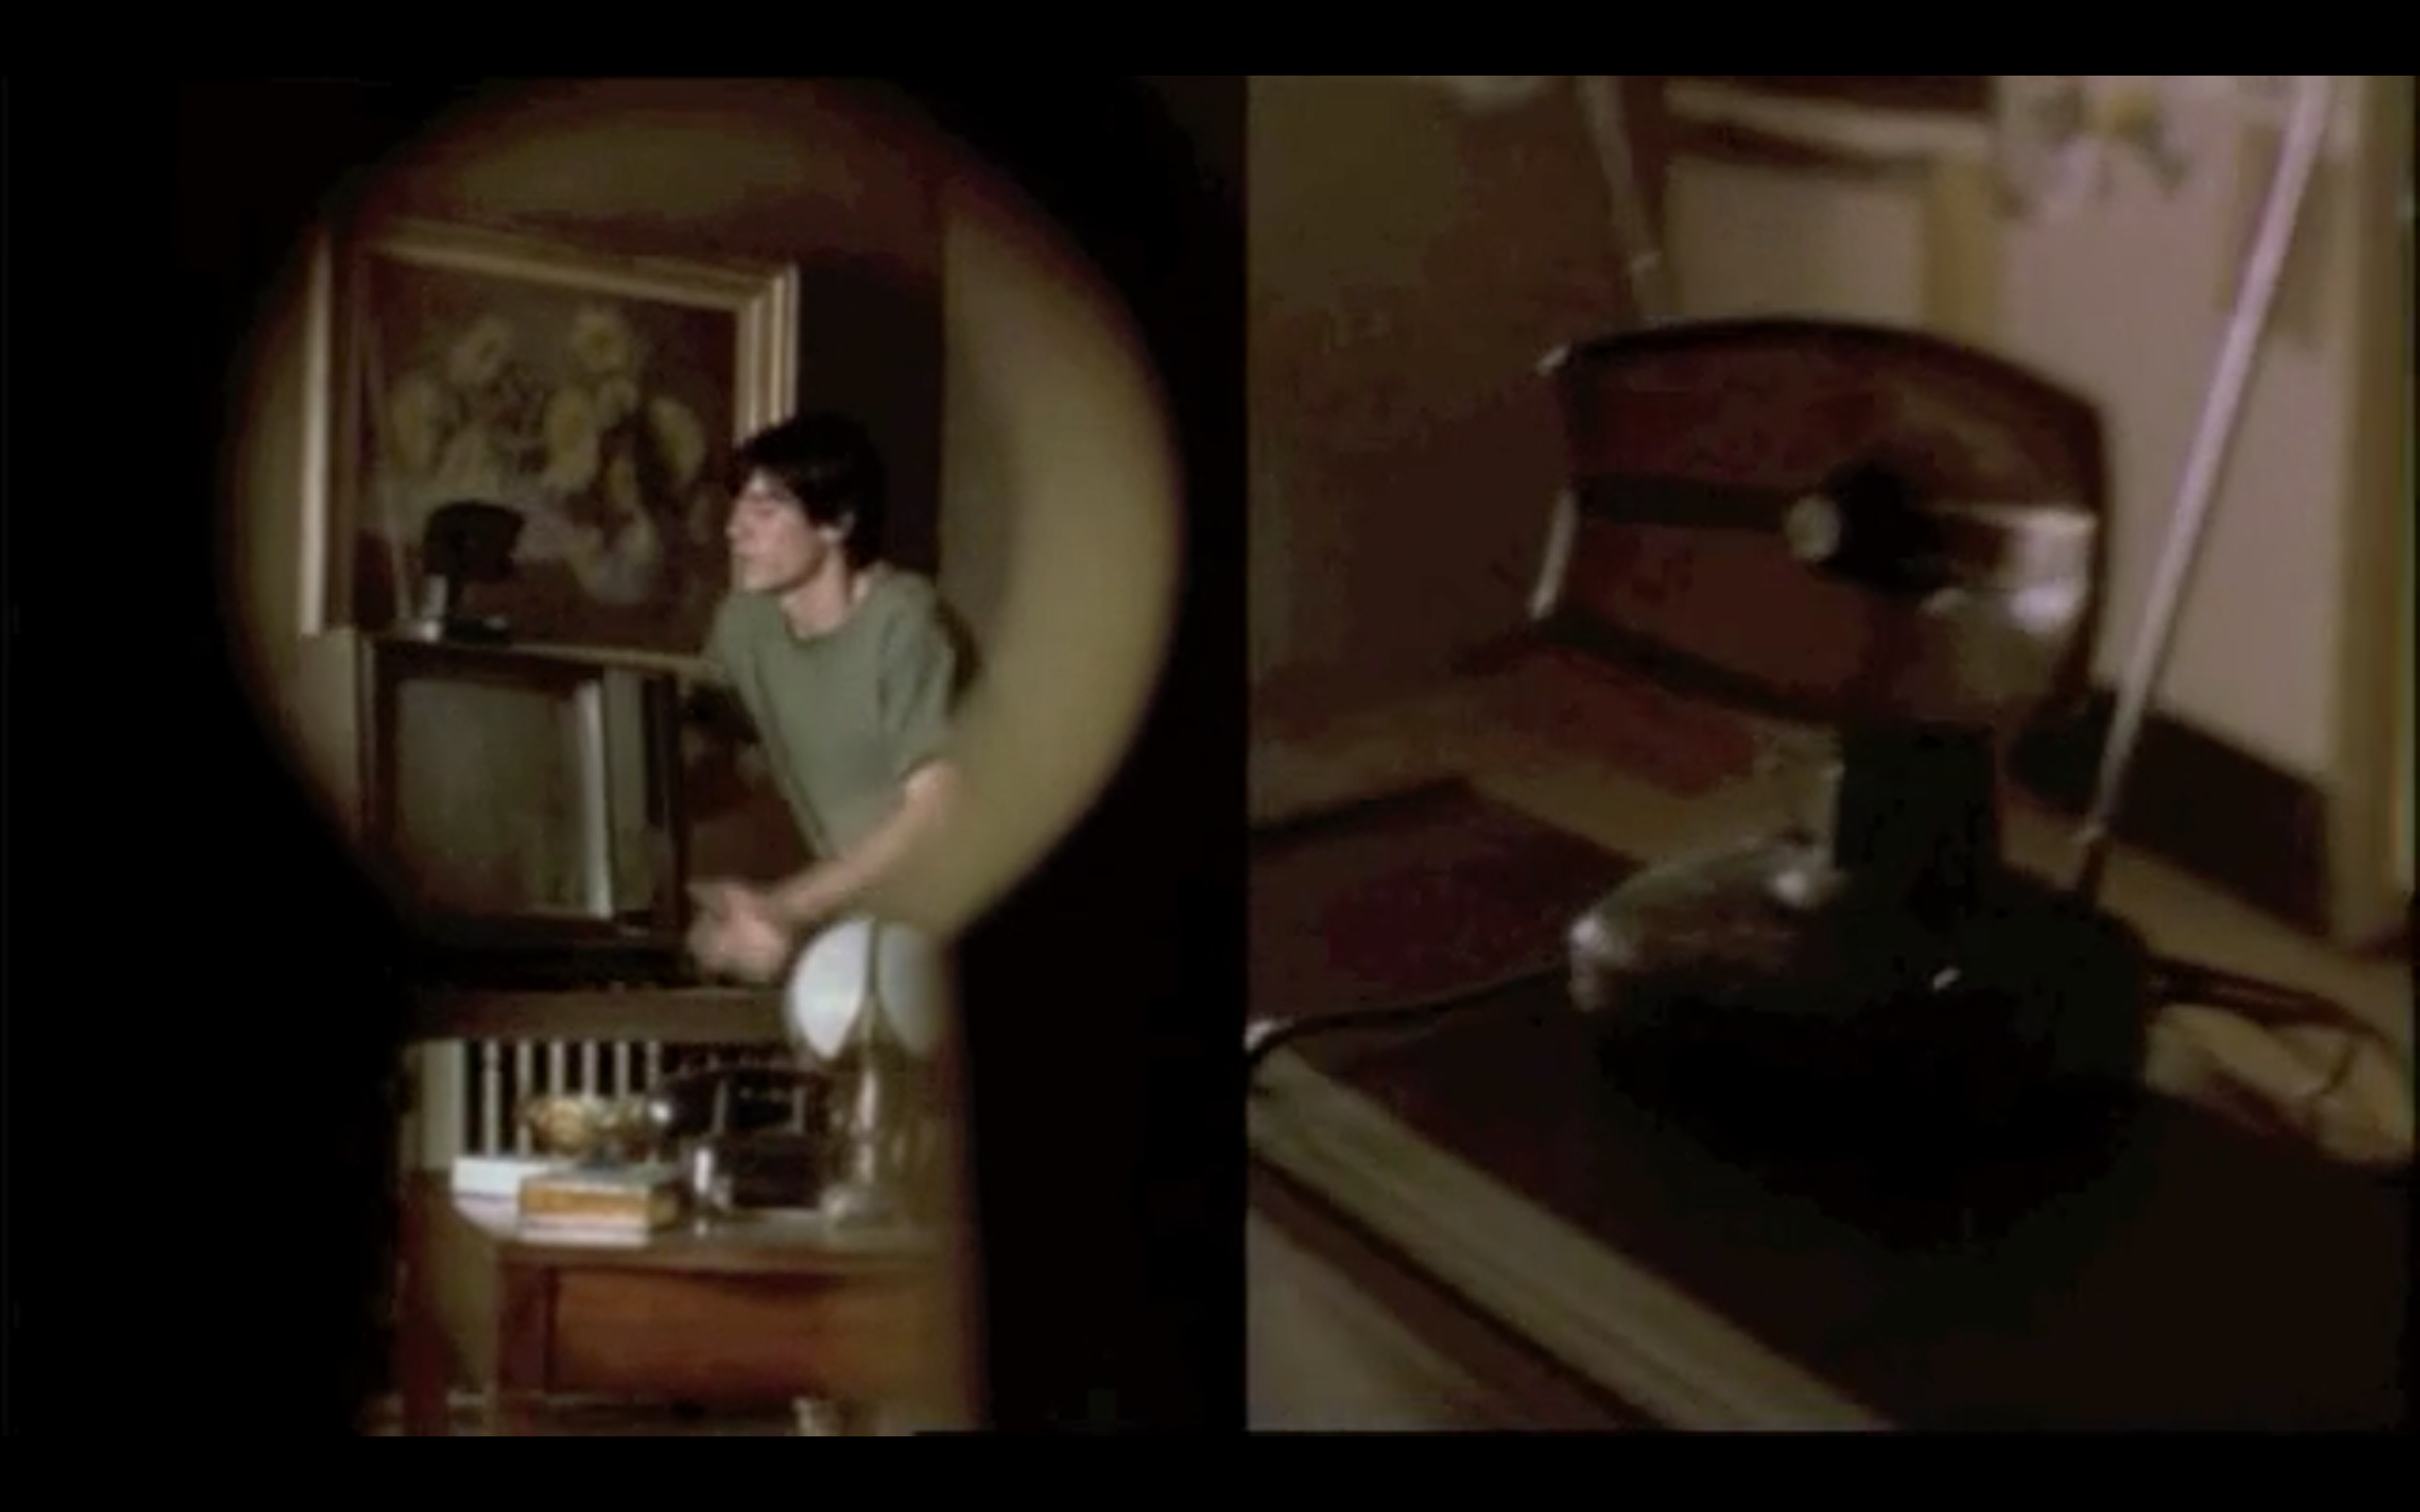
As the left side of screen changes to a stationary point of view shot through the cupboard’s key hole, the right side of screen tracks Harold as he attempts to steal his mother’s TV set. Instead of having two different shots on either side of the same frame which could potentially become confusing for audiences, Aronofsky has essentially just repeated the same shot, but from different ‘perspectives’. This highlights the action and also simplifies the scene for viewers as it means that even if they are only concentrating on one side of the split screen, they are not going to miss what is happening in the story. A close up of the TV aerial (seemingly from Harold’s point of view) is also shown on the right side of frame to convey the the desperation of Harold’s situation: this television is clearly old and worn, yet Harold is still willing to steal it from his mother in order to pawn it for cash which he will spend on heroin.
This focus on the aerial also draws attention to the object falling off the television in the next shot, which the audience can view from a further distance through the key hole, as if seeing through Sara’s eyes. As Harold goes to catch the aerial, the back of his head is framed in a mid closeup on the right of screen and the audience hears him yelling at his mother. The left side of screen cuts to Sara’s reaction shot: the light from the key hole spotlights her eyes in the dark, as she looks down, almost in tears. This shot of the side of her face is framed extremely tightly, which mirrors this idea of Sara quite literally being confined to the small space of the cupboard, as well as figuratively being trapped in the cycle of Harold’s heroin addiction. (The audience later discovers that Harold frequently pawns his mother’s television and she buys it back every time).
The right side of screen then cuts to a closeup of the chain which is keeping the television attached to the radiator in the wall. These extreme closeups are a trademark of Aronofsky’s films, which regularly weave many quick shots of extreme closeups together to draw the viewer’s attention to particular things, rather than covering a sequence in one long take or wide shot. His first feature film Pi also has a number of sequences that a ‘told’ through a rapid montage of extreme closeups, frequently cutting away to things like coffee cups, gold fish, newspapers and keyboards in order to illustrate a point.

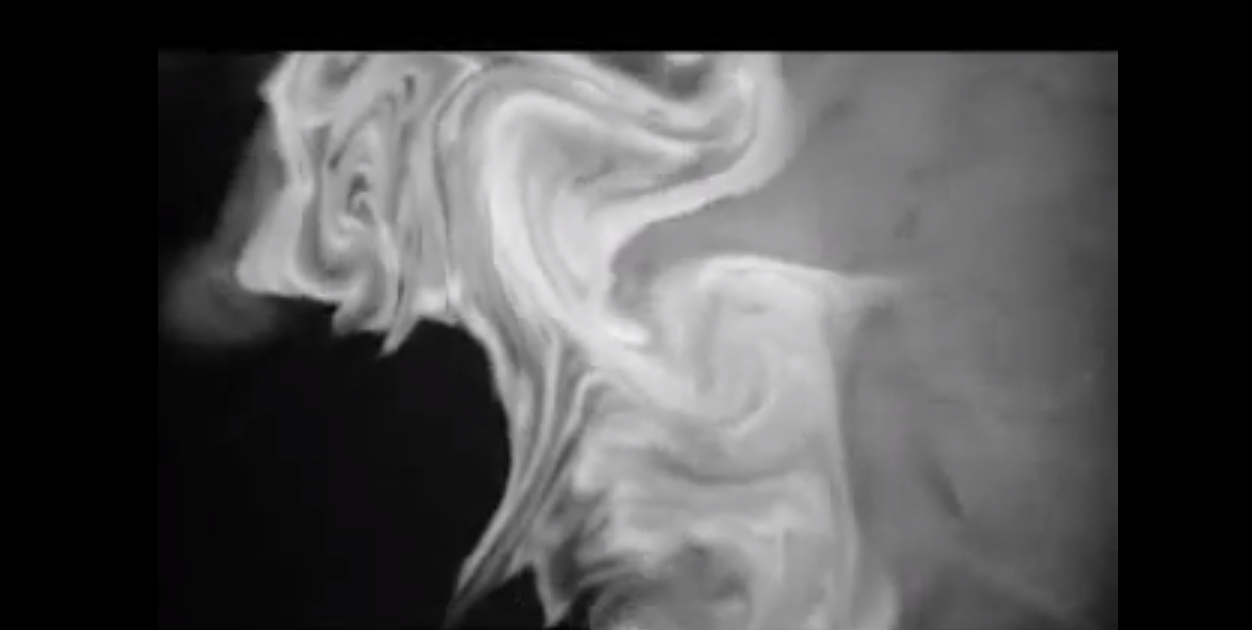
Maximillian Cohen in Pi discovers that everything in nature can be explained through maths, even the seemingly random formations of milk being poured into coffee and cigarette smoke being blown into the air. The spiral-like shapes are highlighted by the extreme closeup framing.
The right side of screen then cuts to a bouncing hand held camera shot from Harold’s perspective as he marches towards the cupboard. On the left side of screen Aronofsky quickly returns to the key hole view of Harold thumping towards his ‘ma’. This shot, paired with the consecutive extreme closeup shot of Sara’s eyes, evokes a sense of fear and suspense as the audience wonders whether she is safe from her aggressive son. The right side of screen cuts to a mid closeup of Harold yelling abuse at the door, while the left side of screen lingers on Sara’s anxious face. The slight hand held camera shake of both ‘screens’ creates a feeling of unease as Sara decides whether or not to give into her son’s requests. The right side of screen then cuts to an extreme closeup of a key being passed under the door to Harold, as Sara bows her head on the left side of screen. The hand held camera tilts down to follow Harold as he picks the key up and the left side of screen returns to the key hole view of the lounge room, this time without Harold in frame. Both screens then exhibit each character side on; however, the shot of Sara is left on screen for much longer than Harold’s and her face is also framed much closer. At this point the camera framing and editing suggests that viewers should be sympathetic towards Sara whose despondent expression is the focal point of the shot.
The left side of screen continues to flip back and forth between the closeup of Sara and her view through the key hole; while the right side of screen switches back and forth between a mid closeup of Harold and his view of the door. The camera follows Harold over to the television at a fast pace, as he unlocks the chain from the wall. The unlocking of the padlock is magnified by framing the object in an extreme closeup on the right side of screen, while on the left screen Sara closes her eyes tight in reaction to the sound of the lock clicking open. The hand held camera then follows Harold as he rolls the television set towards the cupboard. The tone of the scene changes dramatically at this point as Harold begins to speak in a soft, apologetic tone towards his mother.
Up until this moment in the scene, the cuts are rather fast and the movements of the camera unsteady, which help to intensify the action on screen. The signature music of an Aronofsky film is also layered over the dialogue to increase this effect. The opening sequence begins with a slightly off beat overture of string instruments, which slowly transforms into the techno/piano motif of the film. Aronofsky has consistently worked with music composer Clint Mansell to create foreboding soundtracks like that of Pi, The Wrestler (2008), Black Swan and Noah (2014). Mansell often uses a string instrument and techno beat combination which builds towards a climax. In Requiem for a Dream, the eery piano riff comes in at the point where Harold shows his more sensitive side: he quietly tries to coerce his mother out of the cupboard. During this closeup shot of both characters, the movement on screen almost stops altogether. The music seems to conjure feelings of despair and sorrow. Both characters refrain from speaking for a moment as Harold waits to see if his mother will come out. Aronofsky allows the audience to have a god-like perspective over this scene; as a result, they are able to see Sara is crying inside the cupboard.
Once Harold believes he has waited long enough, he turns to leave, rolling the television out and disappearing to the left side of the right screen. The left screen is then ‘pushed’ to the right, so that it now encompasses the whole frame again. The audience is left with a closeup of Sara in low key lighting, still huddling inside the cupboard as she speaks to her deceased husband, assuring him that everything will turn out ‘alright’ in the end. This dark finish to the scene foreshadows the bleak ending of the film. Overall this scene works to showcase the idea that addiction not only causes harm to the individual, but to others as well: a theme that underpins the entire narrative.
Week 4 Epiphany – The Scene in Cinema
In Wednesday’s class this week, our week 3 Exercise shoots were pretty much shot to pieces by Paul (and inadvertently Robin as well). I was quite surprised, as you can probably tell by my week 3 reflection. Although I knew that this was not the greatest shot I’ve ever directed because we were incredibly pushed for time, I thought it was at least a more refined version of the shot I had constructed in week 1’s exercise when I had the same script. In saying this, on the day of the shoot, I never actually looked back at the takes we had done because we needed to rotate roles as quickly as possible. I am now realising the huge importance of this task. When Paul screened our shots from week 3’s exercise in class, I noticed quite a few little mistakes I had made in terms of composition, particularly leaving too much head room for characters in the frame.
By simply looking back over the footage on camera during the shooting process, I could have potentially constructed far better scenes than I have done over the past few weeks in this studio. Firstly, if my group and I had have watched our footage from week 2’s shooting exercise, before packing our equipment up, we may have been able to re-shoot the shots we had forgotten to white balance properly or possibly chosen another location so that our shots were not so overexposed. During the editing process for this scene I realised how hard it is to try to salvage footage that is out of focus or ‘blown out’: it is essentially impossible. Therefore, I have realised that it would be worth trying to get the takes as close to perfect as possible during the shooting process instead of having to fix things in the editing room.
I am now facing a similar problem with week 4’s exercise. I have just looked over the footage we shot and realised that there are quite a few takes where the reflection of our camera and crew are visible in the glass of the suites where we were filming. Granted: it was a difficult location to shoot in because there were reflective surfaces everywhere and we don’t have display monitors available to us to be able to have more than one person overseeing the take. However, I think we should have looked over our footage once again after we thought we had finished our scene just to make sure everything was ‘usable’. This problem could have of course been helped if we had more time (we didn’t even get to shoot every shot we had originally planned), but as Paul and Robin have been drumming into us: there is never enough time, even in the professional industry of film production.
Other than the reflective problems, I thought our shoot went well. After having delegated roles, blocked out and roughly planned how we were going to realise our script on Wednesday, the group put together a shot list, storyboard and floor plan. This organisation meant that we were able to start shooting as soon as we were set up in our location on Friday. Nevertheless, somehow after all this planning and rationalising, I feel like we lost a lot of the creative ideas we had for covering this scene during our early discussions about the script. Maybe it was because the location was quite restrictive (it was difficult to move the camera around in a tight hallway of reflective doors), or maybe it was due to time restrictions; I think when faced with constraints a lot of people go into automatic mode and revert to ‘easier’ shots. Originally, we had talked about doing a lot of ‘frames within frames’ shots, because the location and the script (titled ‘Doors’) was almost shouting at us to do it. Although we got a few frames within our compositions, I think we could have utilised this part of the set a lot more. We were also talking about using the reflections from the glass to our benefit by possibly pulling focus from one character to the other character’s reflection by positioning the camera at a 45 degree angle from the glass. But during the manual process of actually getting all the equipment in there and positioning the actors, I think our more experimental ideas were thrown out the window and we regressed back into a more conventional mode of filmmaking.
I guess one of the things I’ve taken away from this exercise is that this may be the only time we get to break the rules and make mistakes with our filmmaking, so why not make the most of it? Today we ‘crossed the line’ and we filmed two subsequent shots from a similar angle that may turn out to look like a jump cut. But why not? We wouldn’t be able to play with camera coverage this much in a professional circumstance, so we may as well do it at university while we can. It’s really a great place to stuff up, if we stuff up at all, because whatever happens, we are still able to learn from it. I am really enjoying this course at the moment because it is giving us this freedom to make mistakes and in doing so, some really interesting, experimental scenes have been created.