Talking to Paul, one of the biggest troubles our class has been running into is getting correct exposure when using a coloured monitor. Of course, we can turn the screen black and white and use zebra patterns to best ensure proper exposure, but what if you’re at home with your DSLR camera and find yourself with the same problem? I couldn’t find a way to turn the screen’s display to black and white in my (admittedly short) bout of searching, but there is a way to get zebra patterns, and it involves downloading the free-to-use Magic Lantern firmware. So here’s…
An Introduction to Magic Lantern:
Before I start dishing out praise or running through the basics of Magic Lantern, I will point out that I do not in fact have the firmware running on my own camera (…yet). However, the DSLR cameras the tech guys in building 9 will lend you do have Magic Lantern running, and so this was how I first became acquainted with the firmware. This is perhaps a better way to get a feel for it before downloading it for yourself, if you’re unsure of whether or not you need such an add-on.
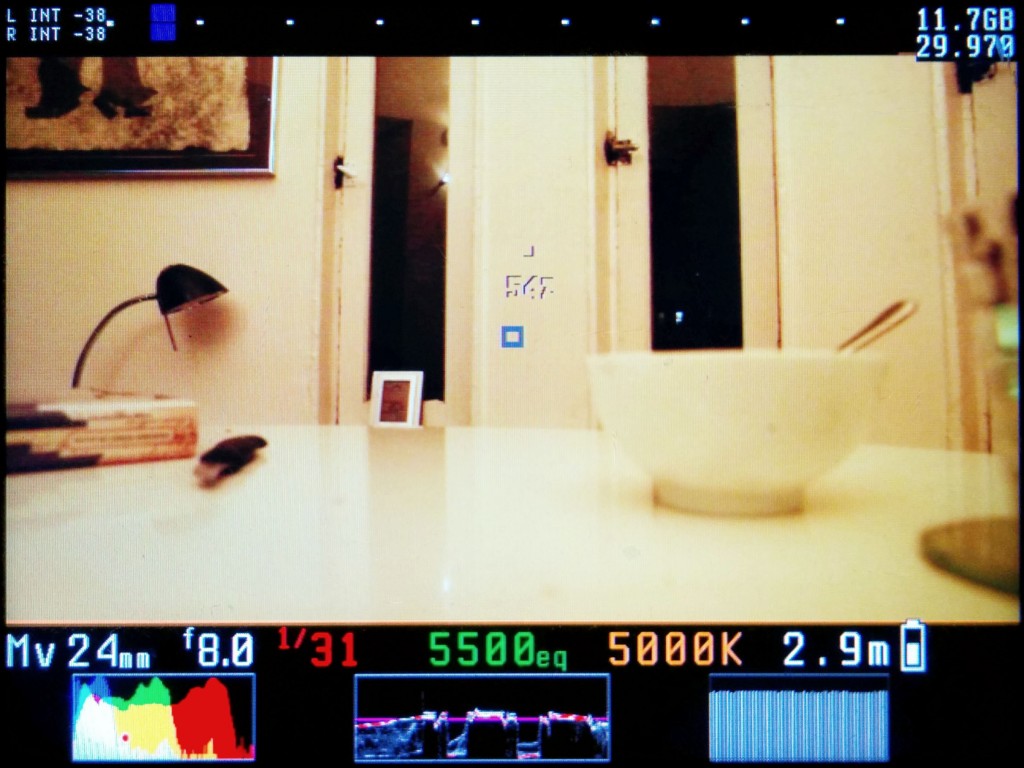
Basically, Magic Lantern installs onto your SD card and, without interfering with the existing features of your camera or with the Canon firmware, adds a tonne of new settings and features that are really helpful if you’re filming. The features you’ll notice first are the overlays on the monitor:
The new live-view layout makes things like colour, light and sound monitoring a lot easier, and of course grids and overlays can still be added to help you frame up, only now you have greater choice. But how do you get this grid? And how do you find all the other cool new features that come with Magic Lantern? I will admit, the first time I opened up the menu I was a little overwhelmed, as I went from having two tabs worth of general camera settings to this:
You now have control over pretty much everything, however just to draw back to my original point of needing zebra patterns to achieve better exposure, I have chosen to show the menu under the ‘overlay’ tab, as the second option here is to turn on ‘zebras’. Of course, this is not the only thing that could help you achieve the best exposure, for example ‘spotmeter’, ‘vectorscope’ and ‘histrgram’ can all help you to balance colours and find the best exposure for your shot.
Naturally, I don’t have the time to go through every single setting under every single tab, so for future reference, I’m going to leave a link to a video here that runs through the bare basics of Magic Lantern and explains how each feature works in detail, and why you might choose to use them. It’s not the best way to learn, and I believe I’ll probably learn more just by going out and experimenting with all the settings, but for understanding difficult concepts and what things like the histogram are actually telling you about your shot, it’s pretty useful.


