This is for those bloggers out there who are wishing to use a custom header for their oh-so-special blogs!
I have been trying to work out how to do this and have finally managed to figure it out, so I am sharing this to you all (and the extra marks don’t hurt…)
This is my original home page for my blog:
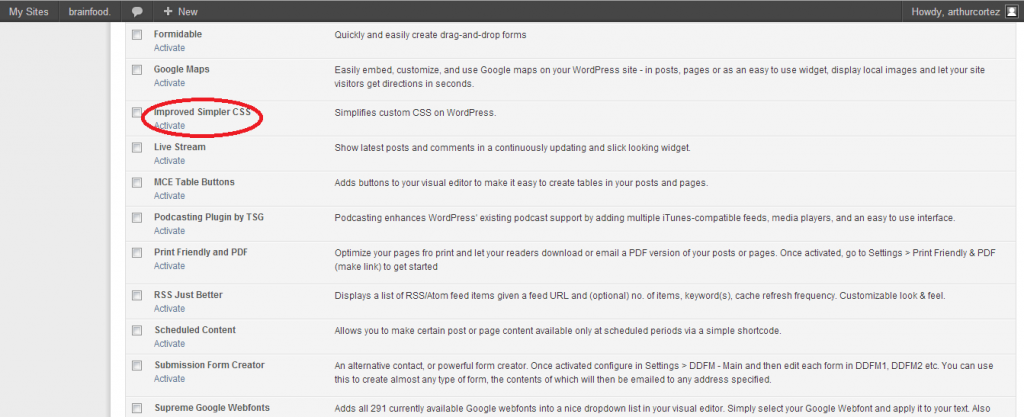
FIRST, Go to your dashboard and click on Installed Plugins.
SECONDLY, Find Improved Simpler CSS amongst the list of plugins and click activate.
THIRDLY, Return to Dashboard and go under Appearance, where you will find Custom CSS that you activated. Delete the welcoming comment on the space.
LASTLY, Input the following code into the space:
#header {
display:none;
}
#site-description {
display:none;
}
And voila! Your site title and tagline are now invisible!
Now if you want to use a custom header and you already have it saved on your computer, stick around…
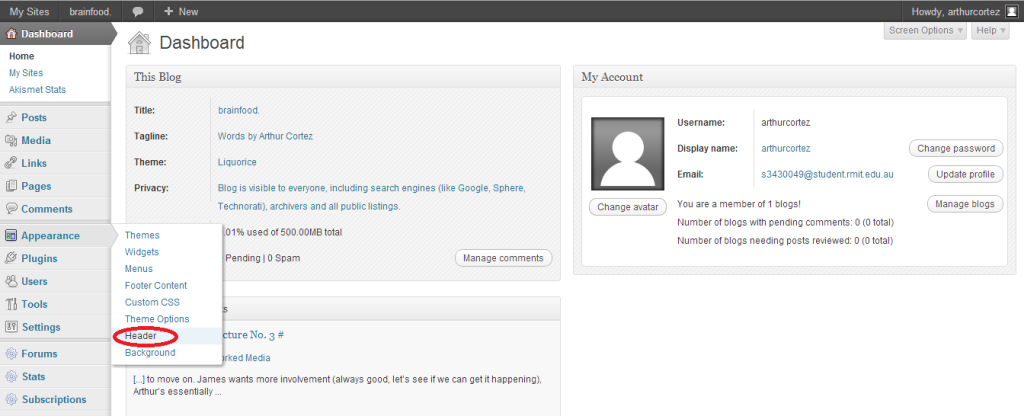
FIRSTLY, Go under Appearance and click Header.
SECONDLY, Upload the custom header you wish to use or choose image if you have used it previously. You will have the opportunity to crop and edit your header, but an image of 1000 x 200 pixels is recommended.
And here is the finish product:
Have fun designing!


well done, added to help pages